IP Camera Configuration: A Beginner’s Guide
- TRIGGER i
- Jul 10, 2025
- 3 min read

Setting up an IP camera for the first time can be overwhelming, but with the right guidance, it’s a straightforward process. Whether you’re securing your home or setting up a surveillance system for your business, this guide will walk you through the basics of IP camera configuration.
1. Understanding IP Cameras
An IP (Internet Protocol) camera is a digital video camera that transmits video over a network, unlike traditional analog CCTV cameras. Key advantages include:
Remote viewing via smartphone or computer
High-resolution video (HD, 4K)
Power over Ethernet (PoE) support
Advanced features like motion detection and night vision
2. What You’ll Need
Before setting up your IP camera, ensure you have:✅ IP Camera (PoE or Wi-Fi)✅ Router & Network Connection✅ Ethernet Cable (for wired cameras)✅ Power Adapter (if not using PoE)✅ Computer or Smartphone for Configuration✅ IP Camera Software or App (e.g., manufacturer’s app, Blue Iris, Milestone)
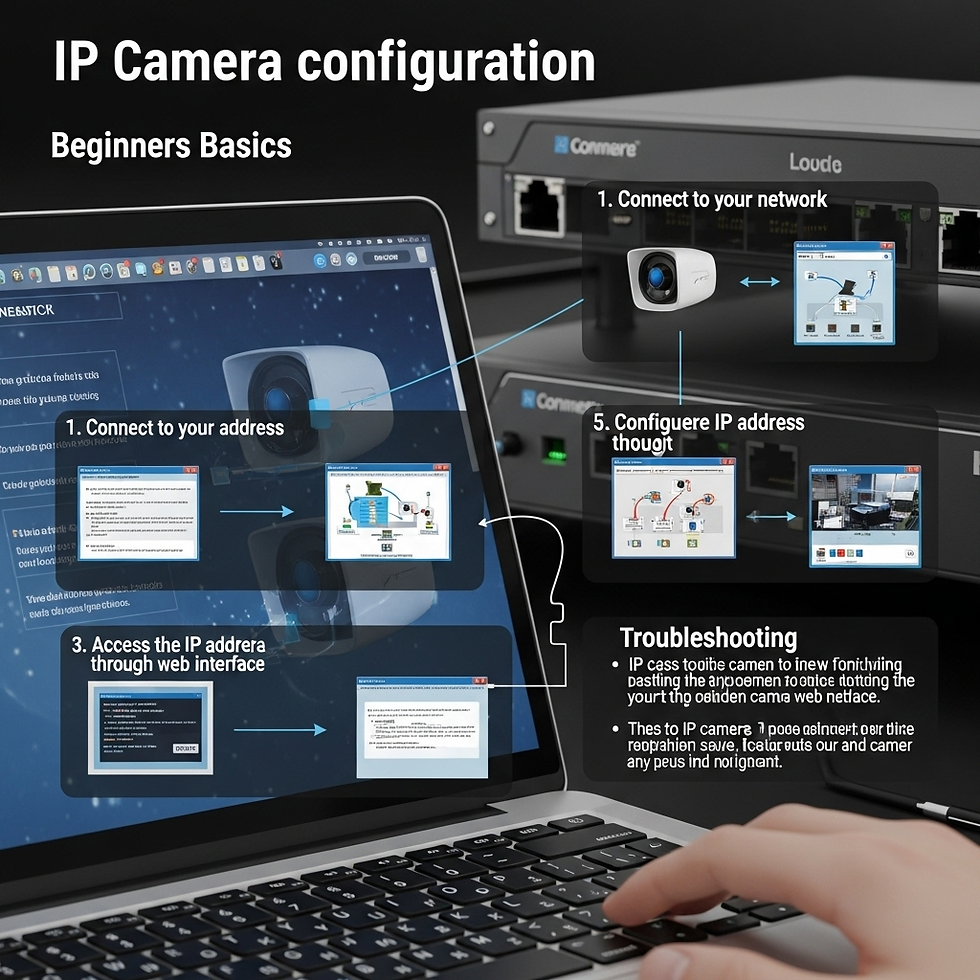
3. Step-by-Step IP Camera Setup
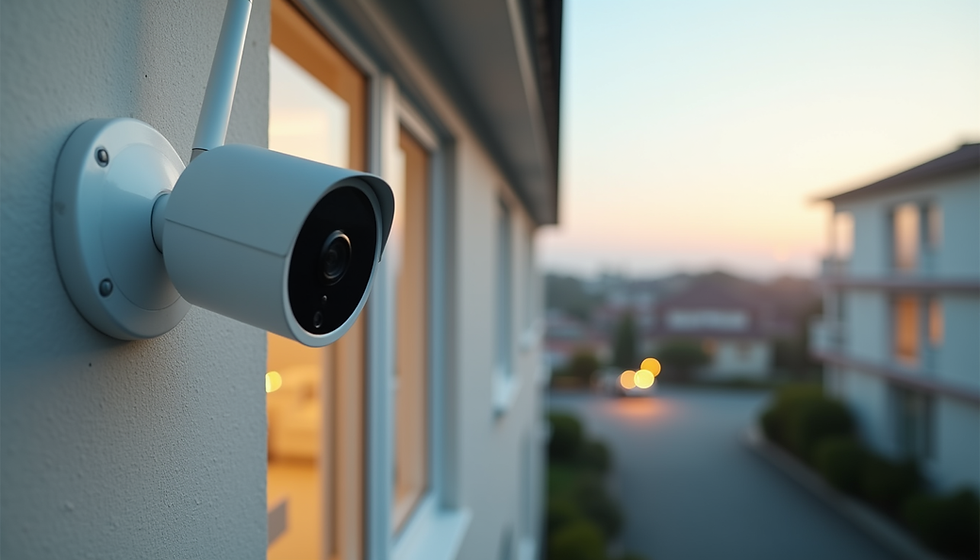
Step 1: Physical Installation
Mount the camera in the desired location.
For wired (PoE) cameras, connect the Ethernet cable to the camera and the router/switch.
For Wi-Fi cameras, ensure the camera is within range of your wireless network.
Step 2: Powering the Camera
PoE Cameras: Use a PoE switch or injector to power the camera via Ethernet.
Non-PoE Cameras: Plug in the power adapter.
Step 3: Finding the Camera’s IP Address
Most IP cameras use DHCP (automatic IP assignment), but you may need to find its IP manually.
Option 1: Use the manufacturer’s software (e.g., ONVIF Device Manager, IP Config Tool).
Option 2: Check your router’s connected devices list.
Step 4: Accessing the Camera’s Web Interface
Open a web browser (Chrome, Firefox).
Enter the camera’s IP address (e.g., 192.168.1.100).
Log in using the default credentials (check the manual).
Step 5: Basic Configuration
Once logged in, configure:
Network Settings: Assign a static IP (recommended) or keep DHCP.
Username & Password: Change the default login for security.
Date & Time: Set the correct time zone for accurate recordings.
Video Settings: Adjust resolution, frame rate, and compression (H.264/H.265).
Step 6: Setting Up Remote Viewing
To access your camera remotely:
Enable Port Forwarding (if no P2P option):
Go to your router settings and forward ports (e.g., HTTP port 80, RTSP port 554).
Use a DDNS service (like No-IP) if you don’t have a static IP.
Use P2P (Plug-and-Play):
Many modern cameras support P2P—scan a QR code via the app (e.g., Reolink, Hikvision).
Step 7: Motion Detection & Recording
Enable motion detection in the camera settings.
Set up recording to:
MicroSD card (if the camera supports it).
NVR (Network Video Recorder) for centralized storage.
Cloud storage (subscription-based).
Step 8: Testing & Troubleshooting
Check live view on your phone/computer.
Test motion alerts and recordings.
Ensure firmware is updated for security patches.
4. Common Issues & Fixes
🔹 Can’t access the camera?
Check if the IP address changed (use IP scanner tools).
Disable firewall/antivirus temporarily.
🔹 Poor video quality?
Adjust resolution and bitrate settings.
Ensure sufficient bandwidth (especially for multiple cameras).
🔹 Connection drops?
Use a wired connection if possible.
Check Wi-Fi signal strength.
5. Best Practices for IP Camera Security
Change default passwords immediately.
Enable encryption (HTTPS, WPA3 for Wi-Fi).
Regularly update firmware.
Disable UPnP to prevent unauthorized access.
Final Thoughts
Configuring an IP camera doesn’t have to be complicated. By following these steps, you’ll have a fully functional surveillance system in no time. If you’re using multiple cameras, consider an NVR for centralized management.
Have questions? Drop them in the comments below!
📌 Pro Tip: Always refer to your camera’s manual for model-specific instructions.
Happy monitoring! 🚀


Comments